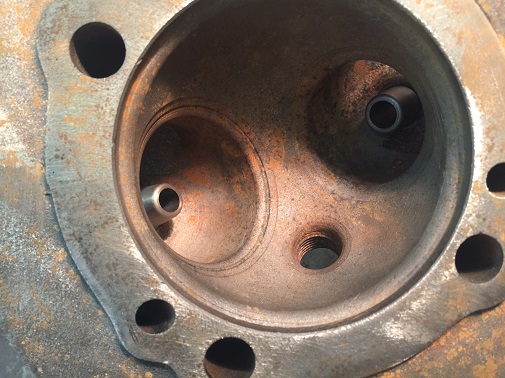
Replacing valve guides takes skill, patience and attention to detail. If you're not comfortable measuring thousandths of an inch, consider farming out this repair.

The first time I attempted to replace valve guides in a motorcycle head, things went badly. I managed to crack a new guide and bend the driver tool, then spent 30 minutes removing the broken guide out of the head. Fortunately it was a cast-iron head, which are much more forgiving than aluminum heads.
Old motorcycles usually have bronze-based or cast-iron (not steel) valve guides. The best choice for your particular application depends on several factors, such as what metal the cylinder heads are made of, and what the maximum engine RPM will be.
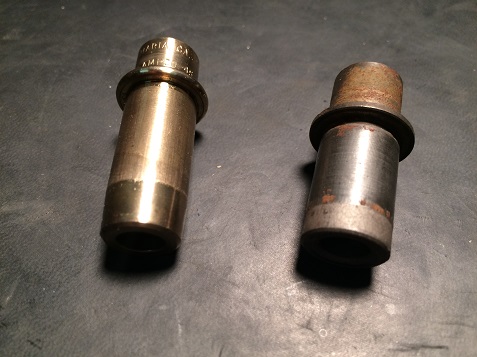
For a street-driven bike that may see an occasional high RPM blast every now and then, cast-iron guides are fine and will probably last as long as other engine components.
Cast-iron guides are inexpensive and easy to work with. After installation, they will need to be reamed to size.
You may notice aftermarket head manufacturers feature bronze guides in their high performance heads. Bronze guides are self-lubricating. They are also less likely to gall in situations where cast-iron guides would.
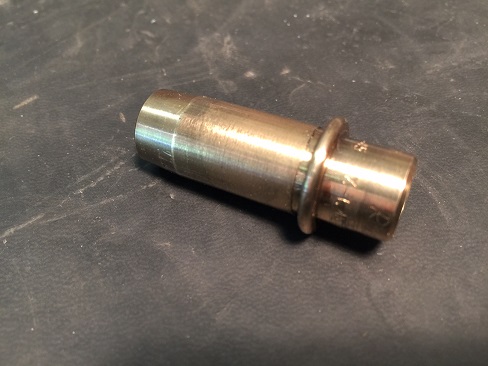
There are several derivatives of the bronze guide, which include phosphor bronze and manganese bronze. All bronze-based guides are better at dissipating heat than cast-iron guides - nearly twice as fast.
Most cast-iron heads run with cast-iron guides. Since they are the same material, the guides and heads transfer heat at the same rate, which is desirable.
Bronze and aluminum have nearly the same heat transfer rating. For that reason, it is common to run bronze guides with aluminum heads.
Engine valves can be made of many materials, including plain steel, chrome-plated steel, or stainless steel. Valve guides work best when they're a different type metal from what the valve stem is. Since two dissimilar metals will contract and expand at different rates, they're less likely to bind to each other when hot.
If it's in the budget, valves and guides should be replaced at the same time. This will yield best performance and longest life.
NOTE: Valves with a hard chrome "flash" on the stems do not work well in iron guides.
Due to the stresses of constant engine vibration, a loose valve guide can back out of it's bore and cause engine damage.
If a guide is too loose in it's bore, replace it with one with an oversize outside diameter. These are generally offered in .001" and .002" oversize's.
Once you've selected the proper replacement guides and have the cylinder head stripped down and cleaned, find a place to where you can heat up the head safely.
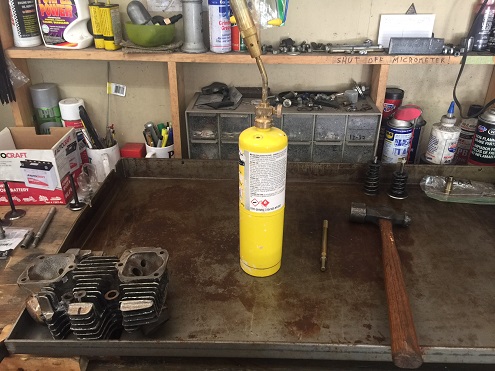
By heating the cylinder head, the new guide has an easier time going in. You only need to warm up the head somewhere between 200-250 degrees.
There are several ways to heat a cylinder head. A propane torch will get a cast-iron head hot enough, but will not get an aluminum head hot enough.
In many motorcycle repair shops, a gas torch is used to heat up the guides - but be careful not to overheat. You're not welding anything, just warming up the metal.
How do you know what the temperature of the metal is? The old-school method is to put a little oil on the metal, when it burns off, it's ready.
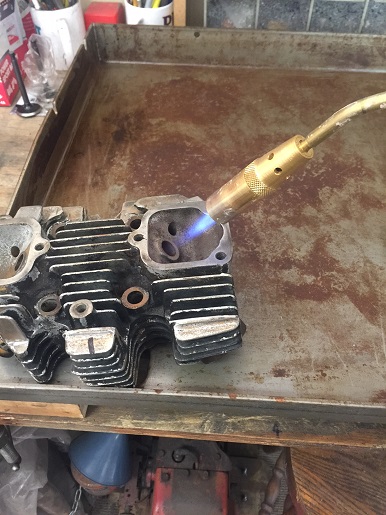
Using a propane torch, it took me about two to three minutes to get this cast-iron Sportster head hot enough to install the guides. After installing one guide and letting it cool, I heated up the head a second time and installed the other.
You may have read about freezing valve guides before installing. The thought is to contract or "shrink" the metal to make for an easier fit.
The problem with this method is, if you heat the head and freeze the guide, it may go in too easily. You then have no indication if it's a loose fit.
By using a hand-held hammer, you can feel the fit of the guide into the head. If you have measured and chosen the new guides correctly, and the head has been heated sufficiently, the guide will go in without any difficulty.
While the head is still warm from the pre-heat, hammer in the replacement guide with the correct size driver. You'll be holding the new guide and driver in one hand and the hammer in the other. A little lubricant (something like WD-40) will help.
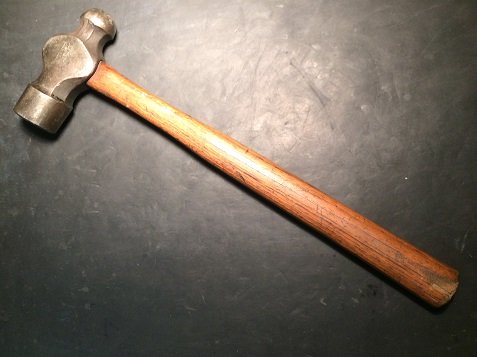
A long-handled 2.5 pound sledge hammer works well for driving valve guides into iron cylinder heads.
Valve guides, especially bronze guides, may distort while being driven into the cylinder head. Work slowly and visually check that they're going in straight.
If one guide goes in easier than the others, stop and re-check your measurements. You may need to install an oversize valve guide.
TIP: If you find yourself wielding a hammer like a madman with an axe - STOP - something's not right.
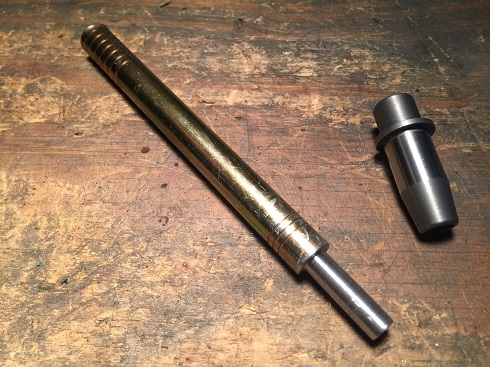
This same tool used to remove the old valve guides is also used to install them. The shoulder on the driver not only prevents guide distortion, it also helps stabilize it when being hit.
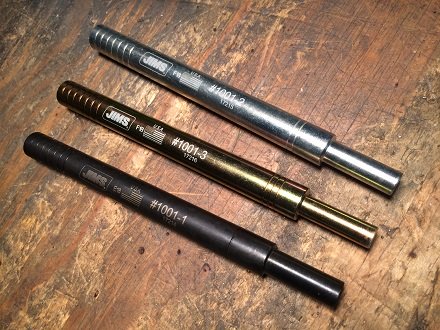
If you're working on an old Harley, Jim's Tool #1001 includes three guide drivers that cover all pre-Evo Harleys. Driver sizes are 5/16", 11/32", and 3/8".
Valve guides usually have a shoulder. Hammer them in until the shoulder is flush with the base metal. Shoulder-less guides will require either a special tool or very precise measurements.
After the new guides have been installed, and the cylinder head has cooled down to room temperature, the guides need to be reamed to the proper size. This is because the valve guide I.D. usually distorts after being hammered in.
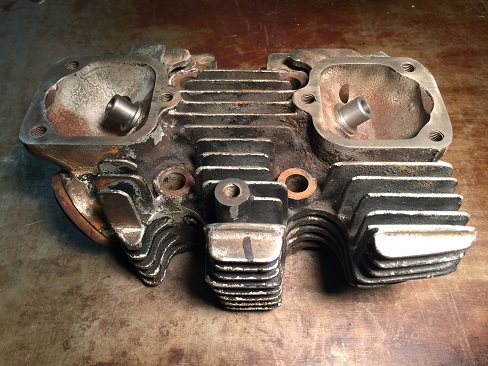
To properly hone a new valve guide, slowly run a precision reamer through it. Skipping this step may cause the valves to bind when the engine gets hot. During this step, cutting oil may be used on steel guides to help lubricate, but not needed for bronze guides.
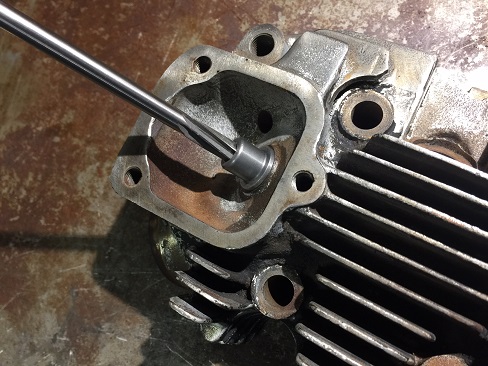
NOTE: A spiral reaming tool is only be turned clockwise, even when removing it.
Once the guides have been reamed and the valves move up and down without binding, it's time to check the valve seats.
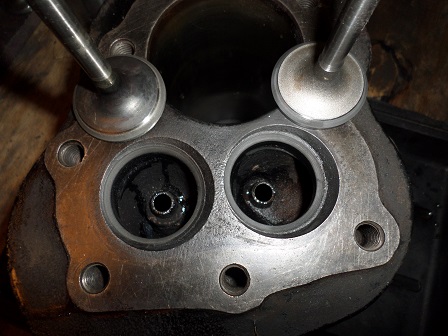
After a basic visual inspection, lap the valves. A dull, even ring should appear around the valve head. This tells you the seats are concentric; in other words, perfectly round and uniform.
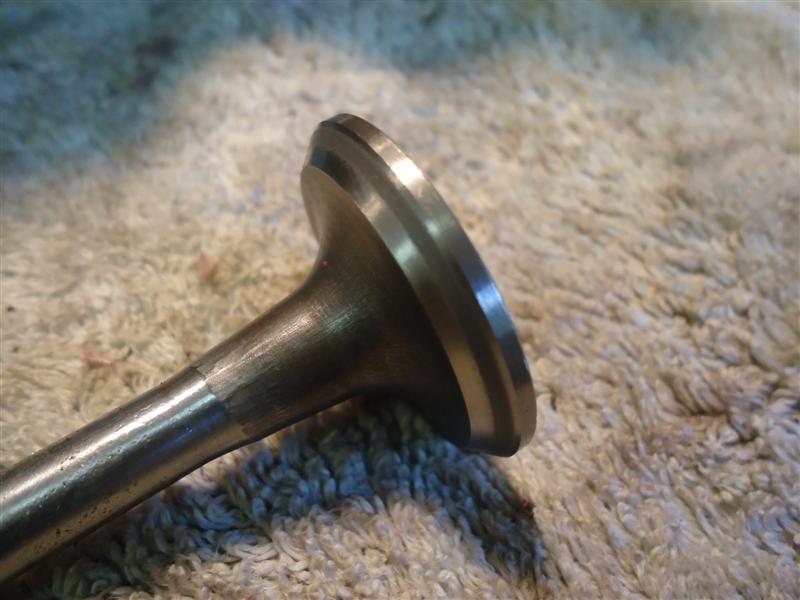
If they aren't round and uniform, the seats need to be re-faced with a valve cutting tool. Any compromising here will cost you performance.
Related Articles: